Index an existing archive
Choose User Repositories if your folders are already organised where you want to keep them. Removing a user repository removes its records from the catalogue and keeps the source files in place.
Windows software for automotive workshops
Bring your workshop archives and new reads together in one catalogue. Find each EEPROM, FLASH or MAP dump by vehicle or control unit.
Standalone executable for 64-bit Windows French and English Version 1.0.9, build 31
User Repositories
Start with the reads you already organise by vehicle, job or customer. Select the folder on your PC, an external drive or an accessible NAS. DumpsAdvanced detects supported dumps and prepares the records for indexing.
Step 1
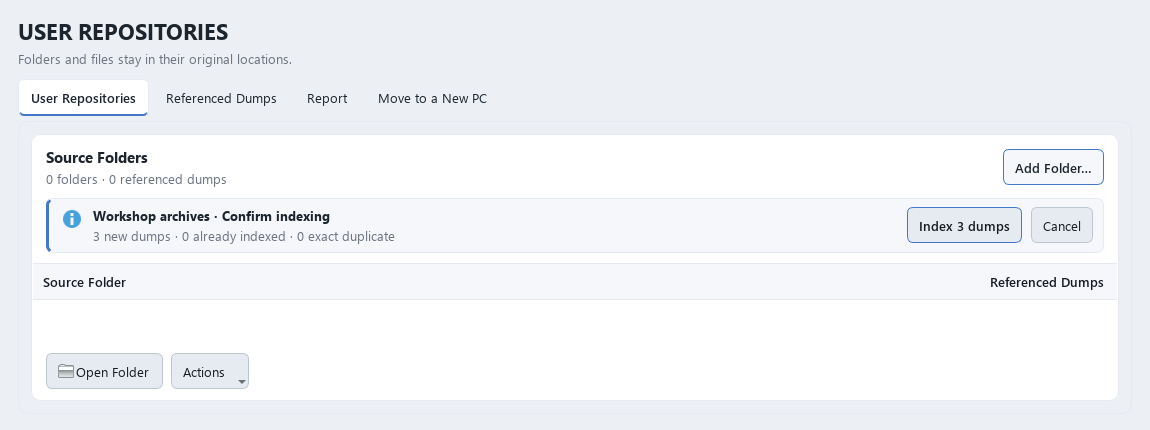
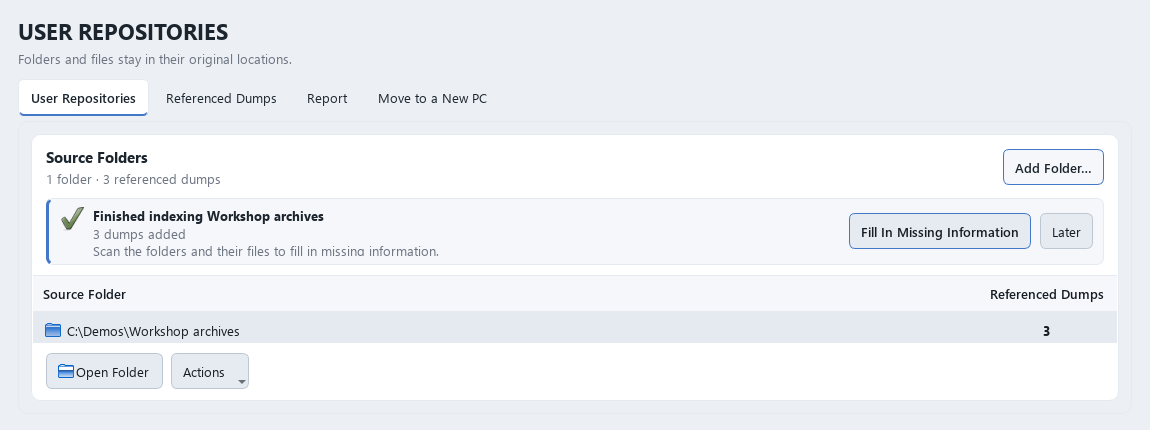
Open User Repositories from the sidebar and select Add Folder…. Choose a source, such as this year's archive folder. Before you confirm, the summary displays new dumps, records already indexed and any duplicates it detects.
A source can hold several jobs, each in its own subfolder. For a complex folder structure, choose a more specific source. The scan recognises formats including .bin, .ori, .mod, .map, .eep and .hex.
Step 2
Confirm using the Index button, which shows the number of dumps to add. The source list displays the selected folder and its record count. New records appear in the catalogue with Indexed status. See Report for a summary.
In this example, Workshop archives adds three records to the catalogue. Use Fill In Missing Information to look for details missing from those records.
Step 3
In Referenced Dumps, find the path for each job and open its folder. When opened from an indexed record, the linked files open in the HEX editor in read-only mode.
If you disconnect the external drive or lose access to the NAS, you can still view the record. You can open the file again once its source is available. If you add reads to a known folder, select Check for New Dumps.
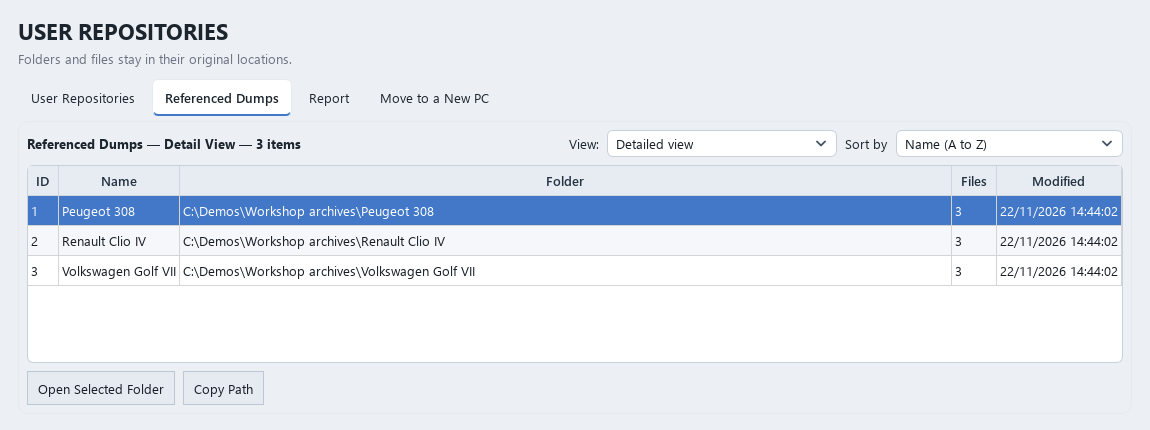
Screenshots show the English interface of DumpsAdvanced with sample folders and data.
Choose User Repositories if your folders are already organised where you want to keep them. Removing a user repository removes its records from the catalogue and keeps the source files in place.
Choose the copy option when saving to collect your new files in a main repository on your PC or on a network share. Both methods work together in the same catalogue.
In practice
Explore three common operations using a sample folder and demonstration data.
Dump deposit
The batch stays in the import queue until you are ready to link it to a record.
Dump record
You can keep both reads on the same record.
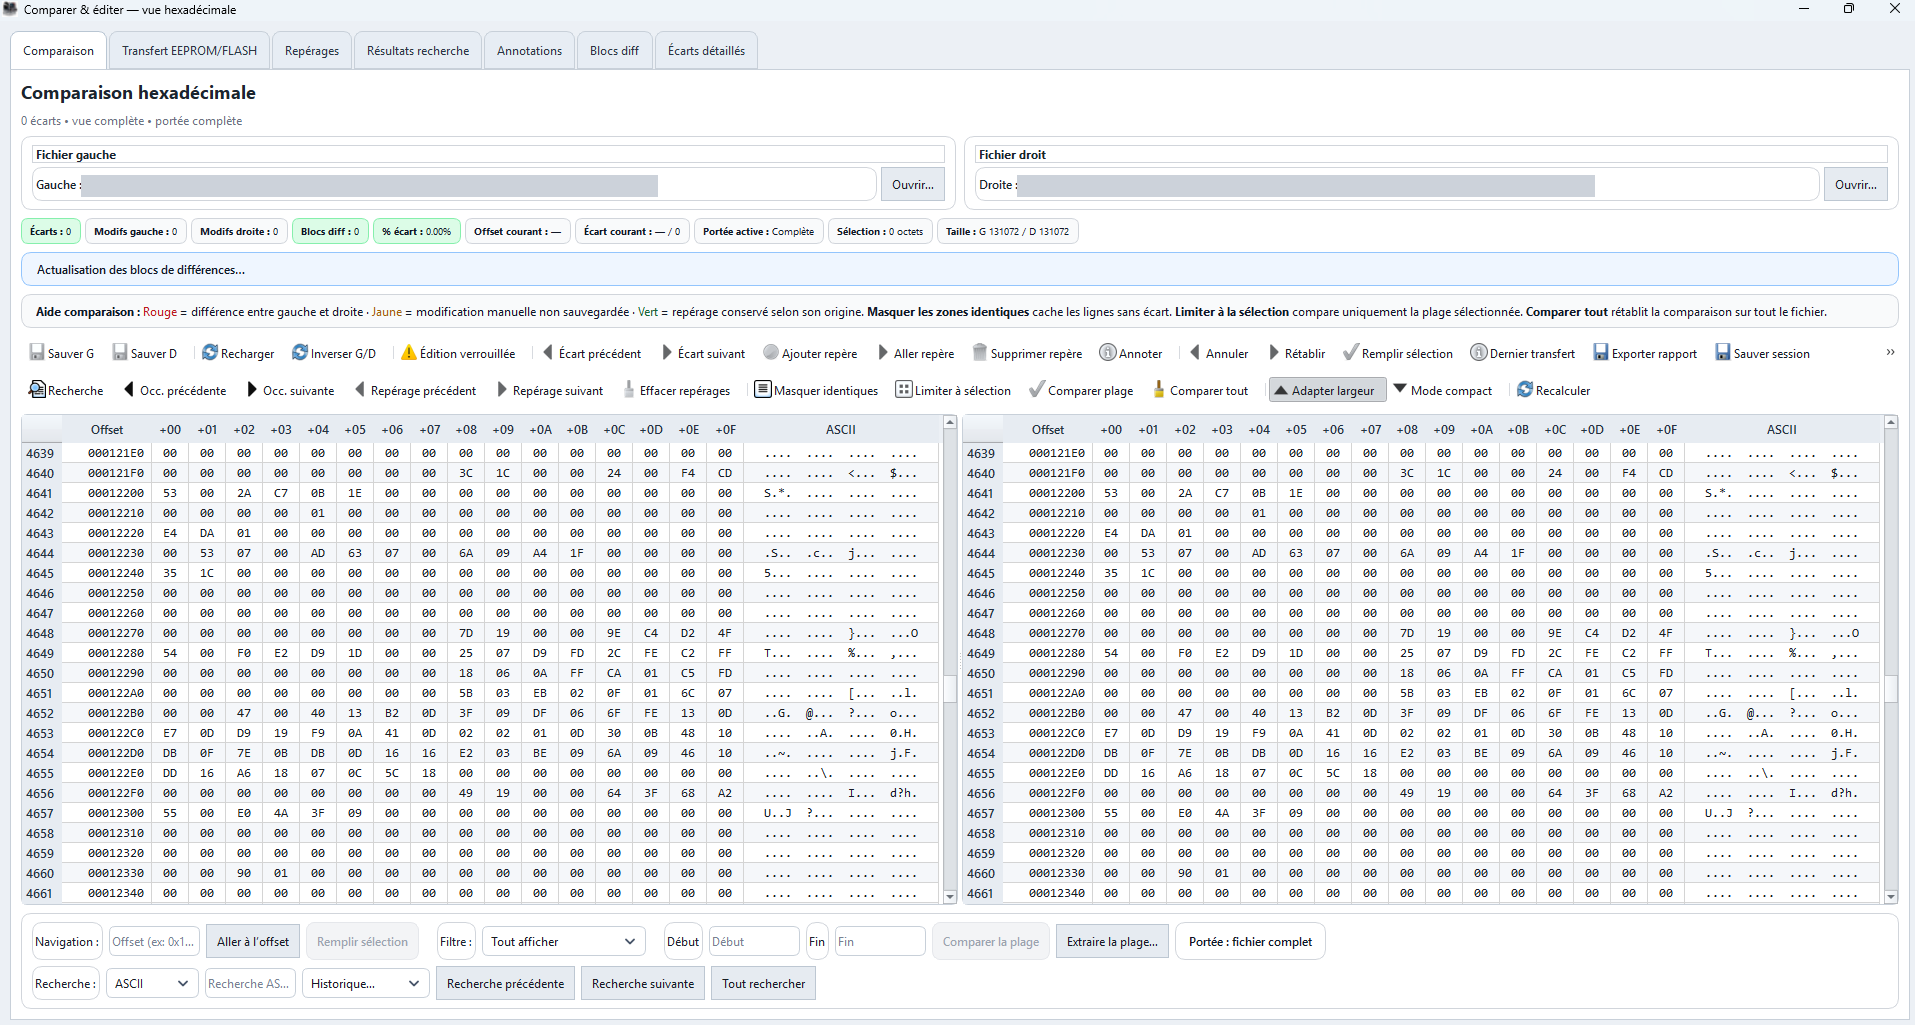
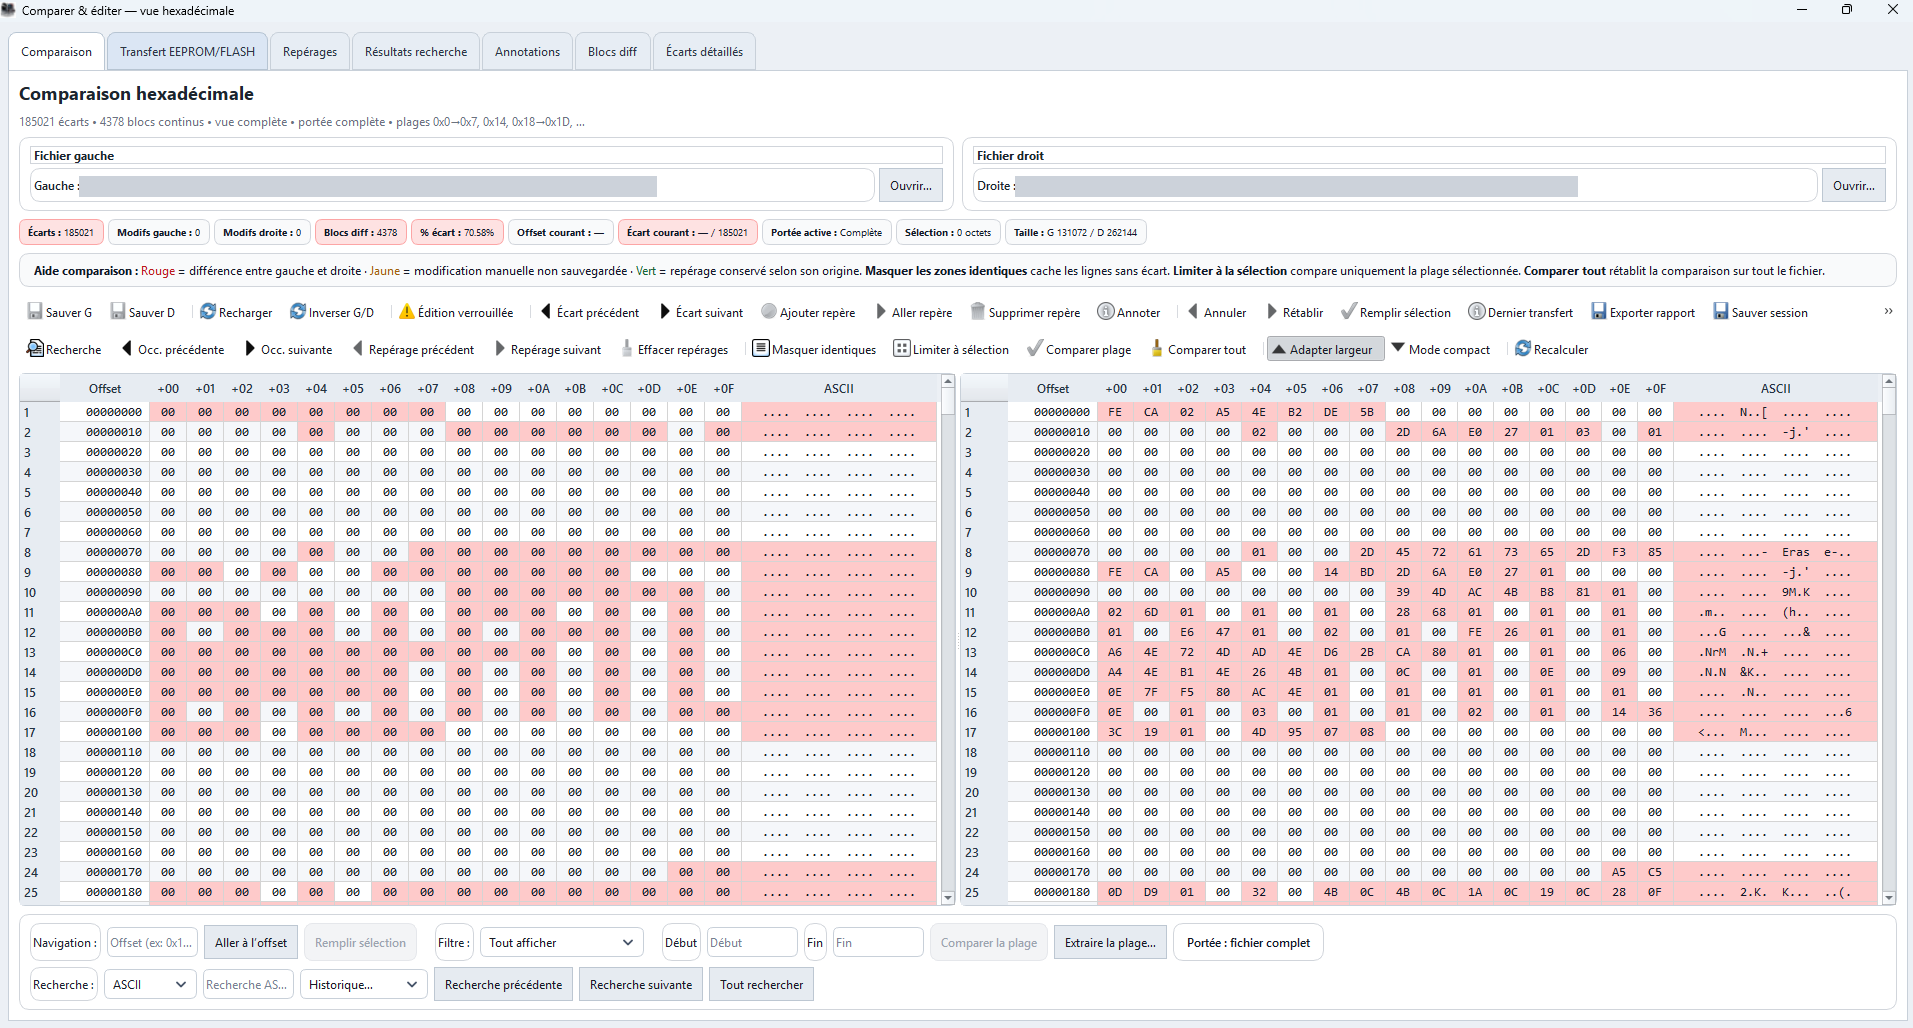
Binary comparison
| Offset | Original | Verification | XOR |
|---|---|---|---|
| 0x0010 | 2A | 2B | 01 |
| 0x003F | A0 | A8 | 08 |
The XOR column shows which bits differ for each byte shown.
Gallery
Open any screenshot to view it at full size.
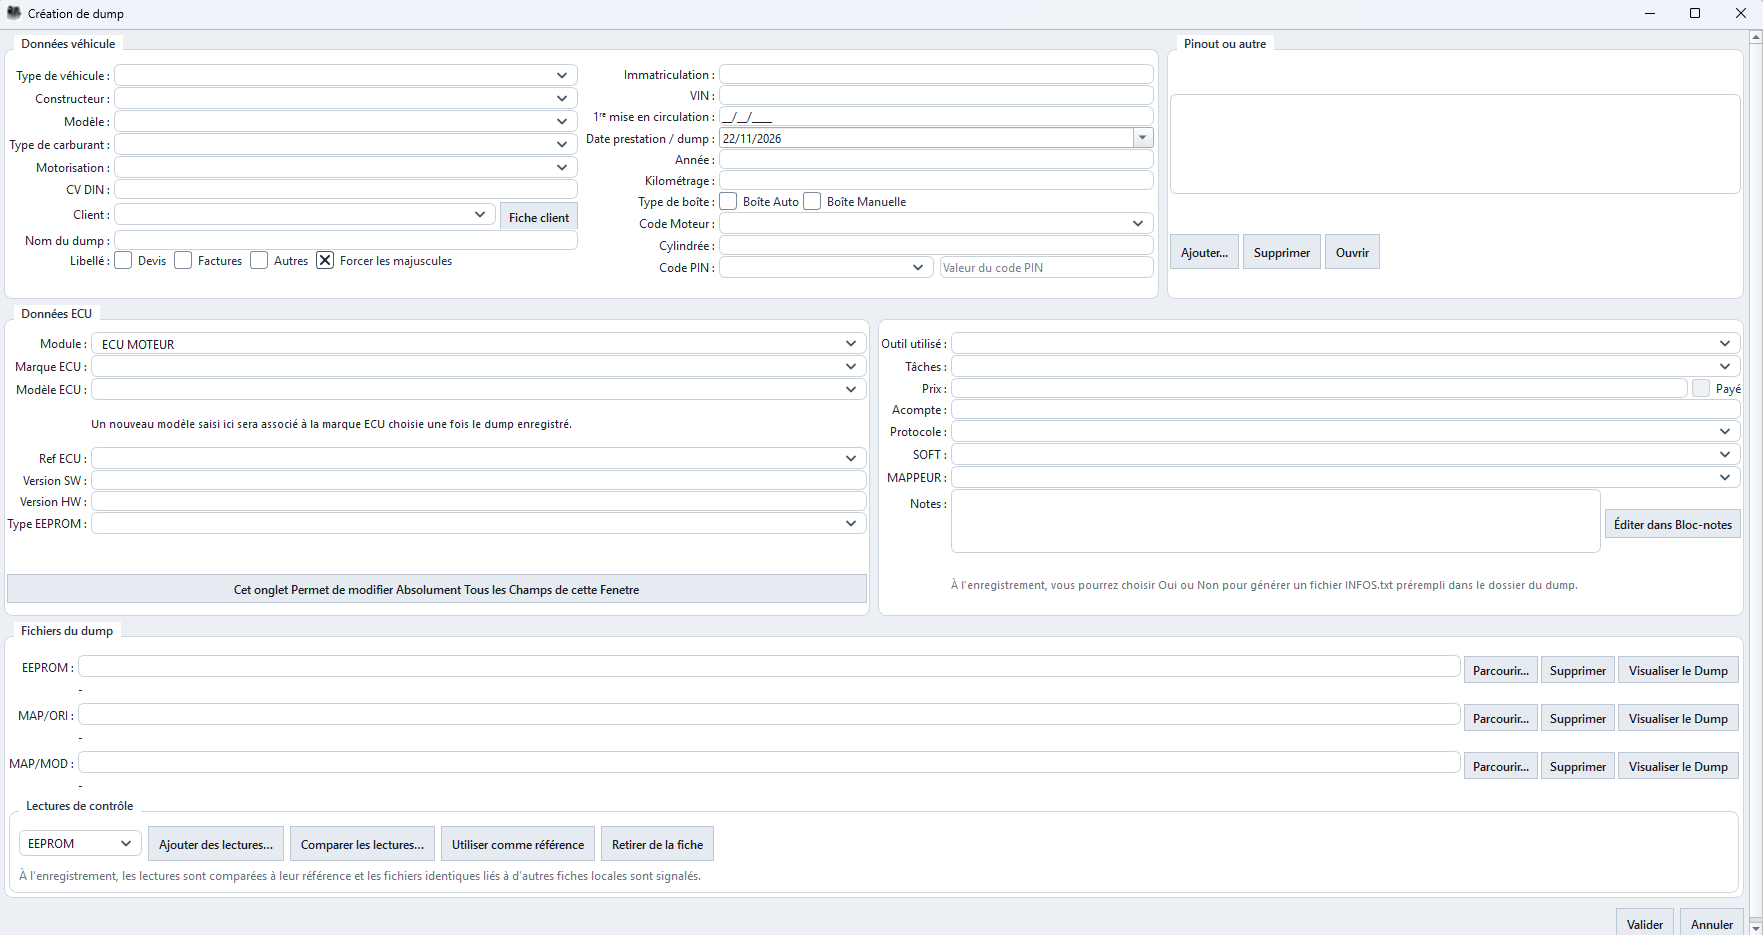
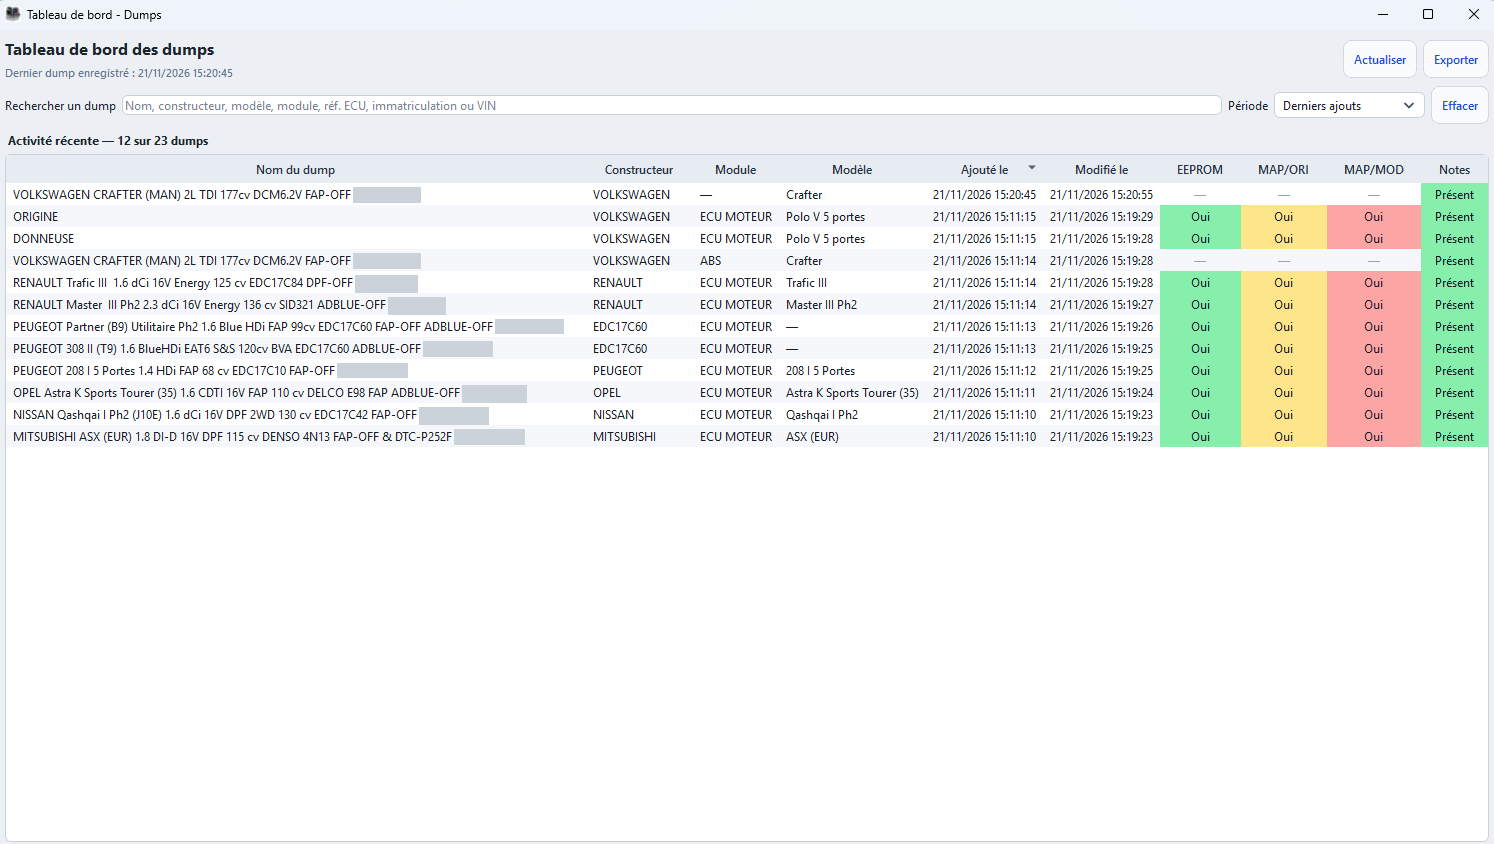
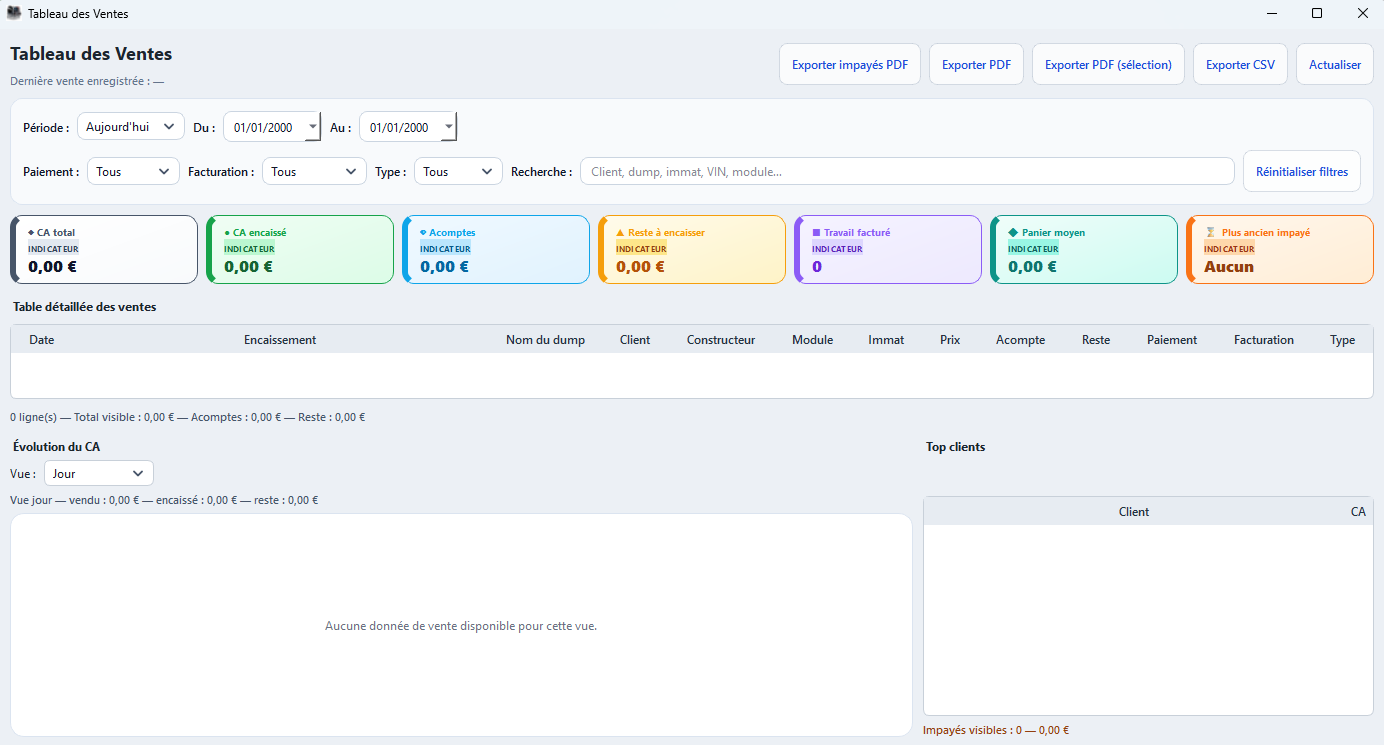
Screenshots show the French interface of DumpsAdvanced with identifying details masked.
Built-in Trash
The DumpsAdvanced Trash lets you restore records, local files and folders placed there until they are permanently deleted.
Move a record to the trash from the catalogue. If DumpsAdvanced manages its local working folder, you can choose to move the associated files with it. The Dump Deposit also lets you send eligible local files and folders to the trash.
Open Trash, select one or more items and click Restore. Files restored with a record return to their original locations. Permanent deletion requires confirmation.
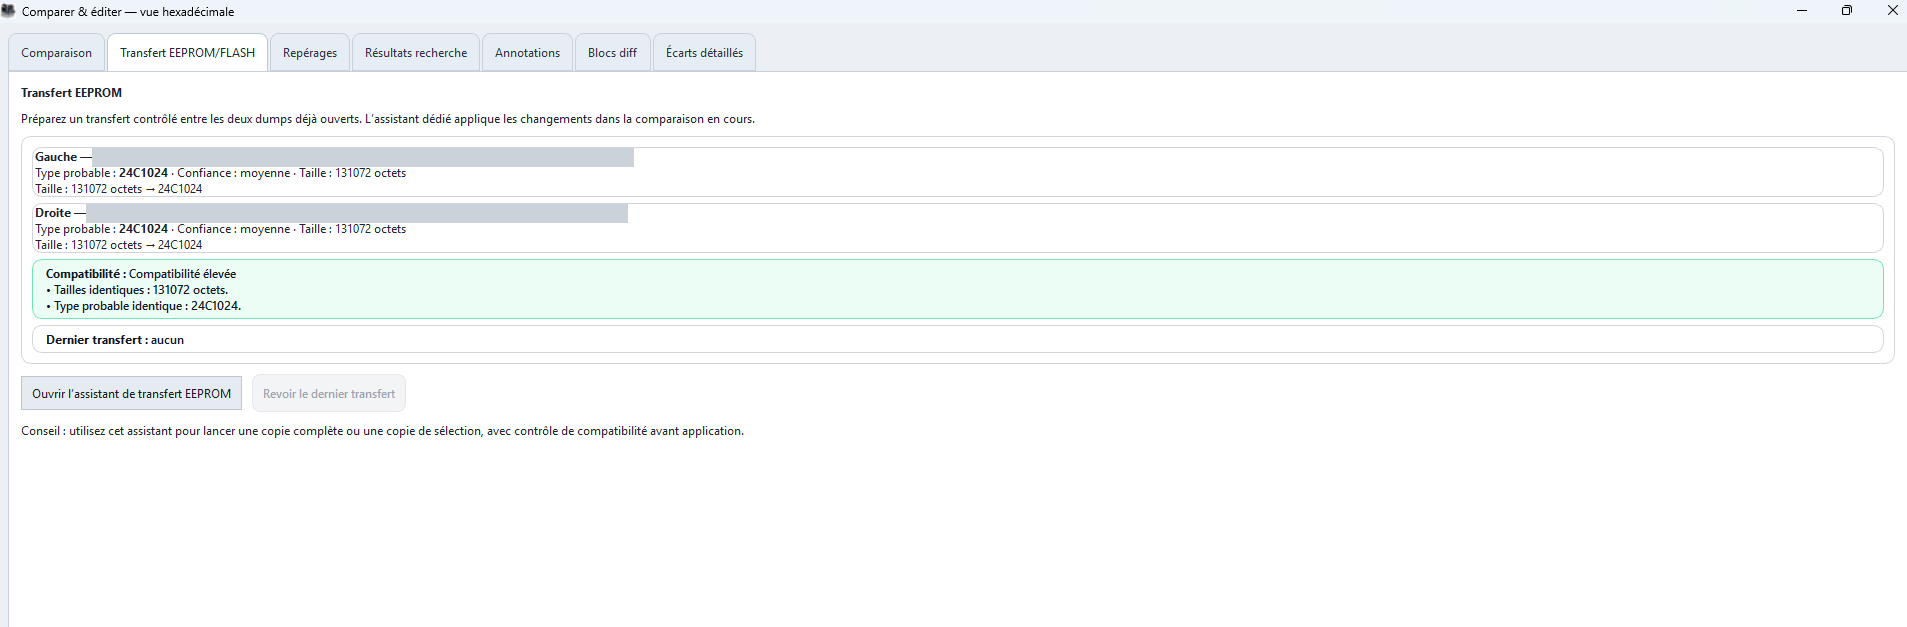
When you index an existing folder in User Repositories, DumpsAdvanced protects the original folders and files linked to indexed records. In the Dump Deposit, a Protected source label means the software blocks moving or deleting those items.
Moving an indexed record to the Trash removes its reference from the catalogue and keeps the originals in place. Restore brings the record back.
Features
Choose a category to explore the tools.
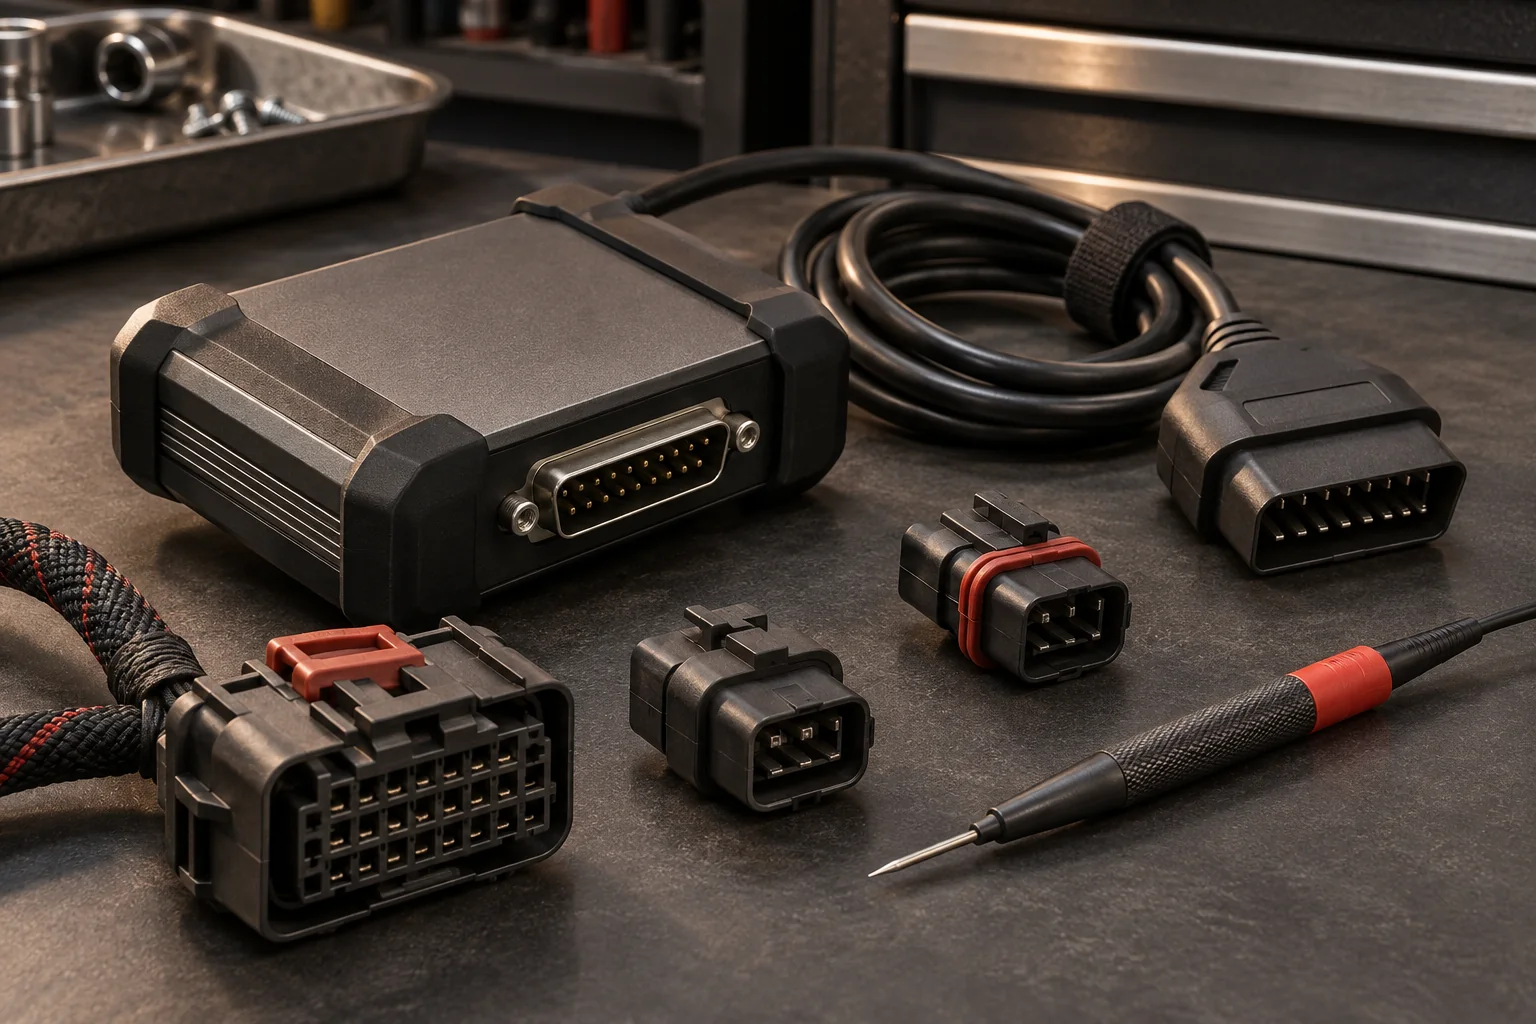
Workshop setup
Frequently asked questions
Yes, with an offline licence. The tools that work with files on your PC remain available. Registration plate lookup requires an online service, and opening files on a NAS requires access to that network.
Use User Repositories to index folders in their existing locations. Choose a repository when you want to store copies of your files together. See how indexing works.
Yes. Add verification reads to the same record and choose the reference. If the contents differ, open the reads in the binary comparison tool.
Use full migration to transfer your records and the available files listed in the migration summary. A full backup also saves your settings to the destination you choose.